Progress so far (in the beginning)
I was happily surprized to see that the next day we worked on the Easy Riser there were 5 persons in the workshop. I could not say "No" to the new ones. So ... the group is now having 5 volenteers.
They are: (first name second name, year and type of lessons)(the first three are those whose picture is on the previous post)
Jimmy Verhoeven (5 latijn-wetenschappen)
Yoon Thoen (6 Economie-Moderne talen)
Thaïssa Kockelkoren (6 Latijn-Wetenschappen)
Adia Nabirova (6 Economie-Moderne talen)
Cedric Van Handenhove (6 Lassen-Constructie)
 We first made the effort to debrur all the tubes. We made the extra control to see if ALL tubes had their partnumber on them to avoid errors in the future. Then we started assemblying the leading and trailing edge of the topwings with the extensions. It was my first effort with rivets. Real easy. But ... I had to make special efforts to get the right drill as the rivets are in inch and we live in Belgium.
Drawing the guiding lines on the tubes was not that easy. It is hard to draw lines along the tube correctly. I came up with the idea to use a metal plate and the workplate as supprt. Just place the plate (which has perf
 ect parallel lines (I use a ruler)) to the side of the tube. Roll the tube so the line you want to extend is just above the plate. Now draw a line along the plate. You can see in the pictures how we used this method.
Good drilling is only possible after making a small dent with a sharp point on the places for the holes. If you don't do this you will continue to slide sideways.
Like mentioned in the plans we made guides for the placement of the tubes on the assembly fixture. Because we have a metal workshop we used metal plates. The thougest one to place was the one at the other end of the leading edge. The leading edge tube has to have EXACT 90° with the assembly
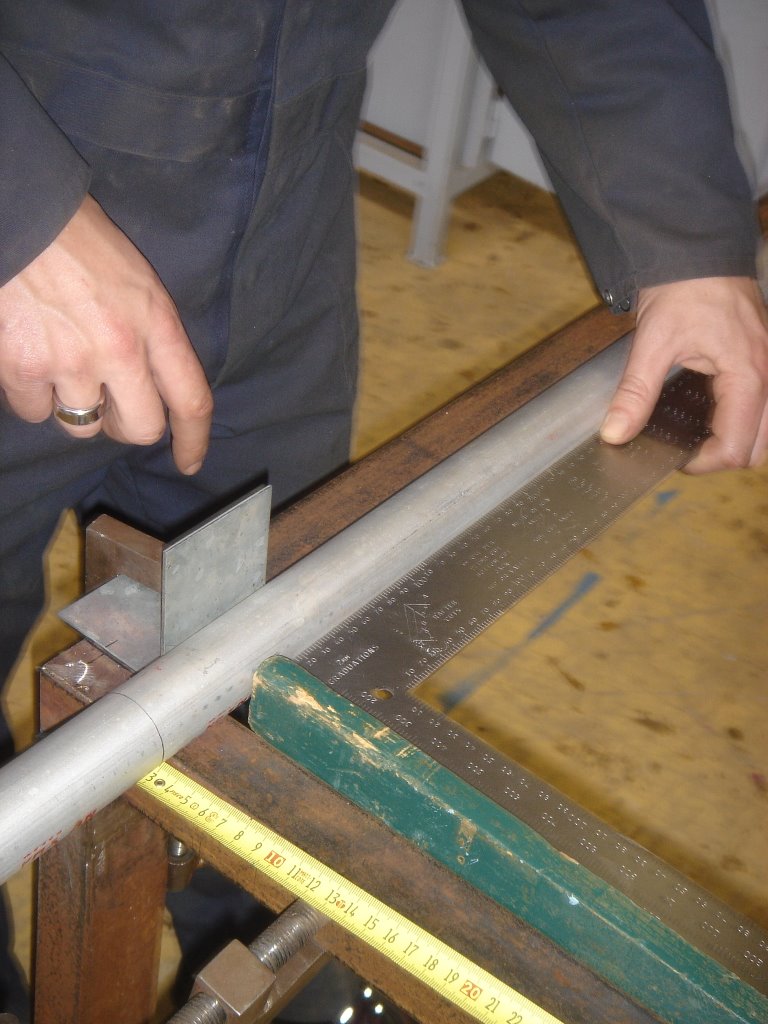 fixture. For this I bought a longer square to guide us, but ... the fixture is lower than the side of the tube. So it was hard to get the square in contact with both. I used a wooden block which we fixed to the fixture and now we were able to place the square to the side of the tube AND place it againt something that is parallel with the fixture. The third guide was installed. Now we need to make that block to get the twist in the geometry of the wing right. It should be 2,5 inch high. After that we will be able to start adding the wingtip to the top right wing. Probably work for this Friday.
posted by Nest of Dragons @ 1:27 PM
0 comments
![]()